


Shielded Metal Arc Welding (SMAW), commonly known as stick welding, is one of the most fundamental and widely used processes in the mechanical engineering industry. Although the process may appear simple, producing a weld bead that meets quality requirements requires welders to understand several essential technical principles.
This is the first and most important step. Three main factors should be considered: Whether the power source uses alternating current (AC) or direct current (DC); Whether the base material is carbon steel, stainless steel or cast iron; The thickness of the material, which determines the required welding current and electrode diameter
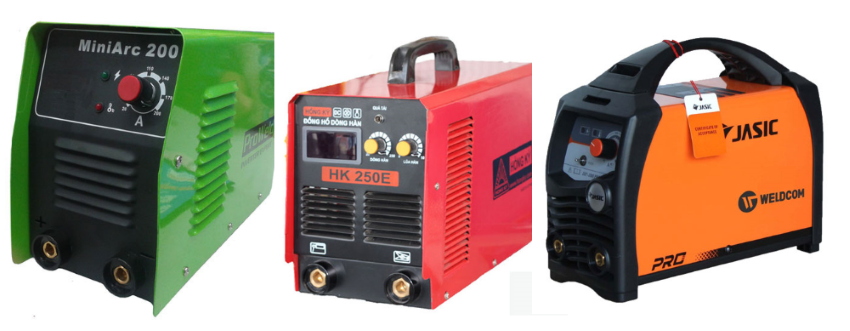
Welding equipment should be selected according to the specific application requirements.
Choose an electrode with mechanical properties suitable for the base material. Before welding, remove dust, grease, oil and rust from the workpiece surface.

Each type of welding electrode is suitable for different applications.
Set the welding current according to the electrode diameter. Strike the arc by moving the electrode tip in an arcing motion.
The ideal arc length should be maintained at approximately one to two times the electrode diameter. Avoid holding the arc too short, as this may cause the electrode to stick, make the weld pool solidify too quickly and create an uneven bead profile.
An excessively long arc may result in heavy spatter, slower weld-pool solidification and a higher risk of porosity.
The welding speed should be maintained so that the arc covers approximately one-third of the molten weld pool.
Moving too slowly can cause excessive heat accumulation, resulting in an overly convex weld bead and inconsistent penetration. Moving too quickly may lead to insufficient deposited metal, an uneven bead profile and poor penetration, reducing the load-bearing capability of the welded joint.
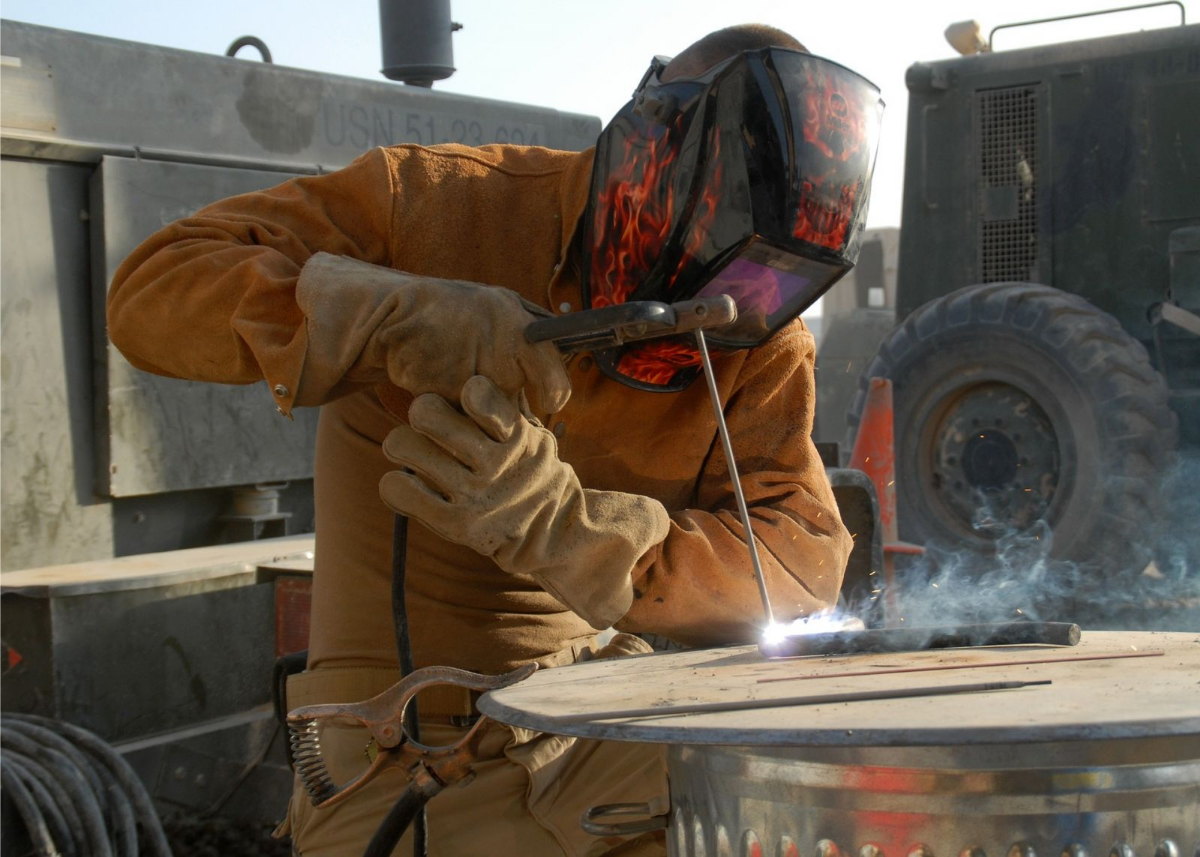
After welding, a layer of slag formed from the molten electrode coating will cover the weld surface and protect it from oxidation. Once the weld has cooled, gently remove the slag using a chipping hammer.
Finally, inspect the weld surface to ensure that it is free from defects such as cracks, porosity and slag inclusions. Depending on the required appearance or corrosion protection, additional finishing processes such as grinding, polishing or applying a protective coating may be carried out.

